Strawberry jam is more than just a spread; it’s the sweet embodiment of spring’s bounty, captured in a jar to be savored all year round. With the right techniques and a bit of patience, you can transform those plump, juicy berries into a vibrant, ruby-red confection that outshines any store-bought version. Whether you’re a novice or a canning connoisseur, this ultimate guide offers a comprehensive look into the art of strawberry jam making and canning, ensuring that you too can master this delightful culinary tradition.
The Sweet Alchemy of Jam Making
Understanding the Basics of Jam Canning
Before we plunge into the sticky details, let’s explore the foundations of jam making and canning. At its core, strawberry jam consists of strawberries, sugar, and a form of pectin that gels the mixture. The canning process, on the other hand, enables you to safely seal your jam in sterilized containers for long-term storage.
Ingredients You’ll Need
To make an exceptional strawberry jam, you’ll need the following:
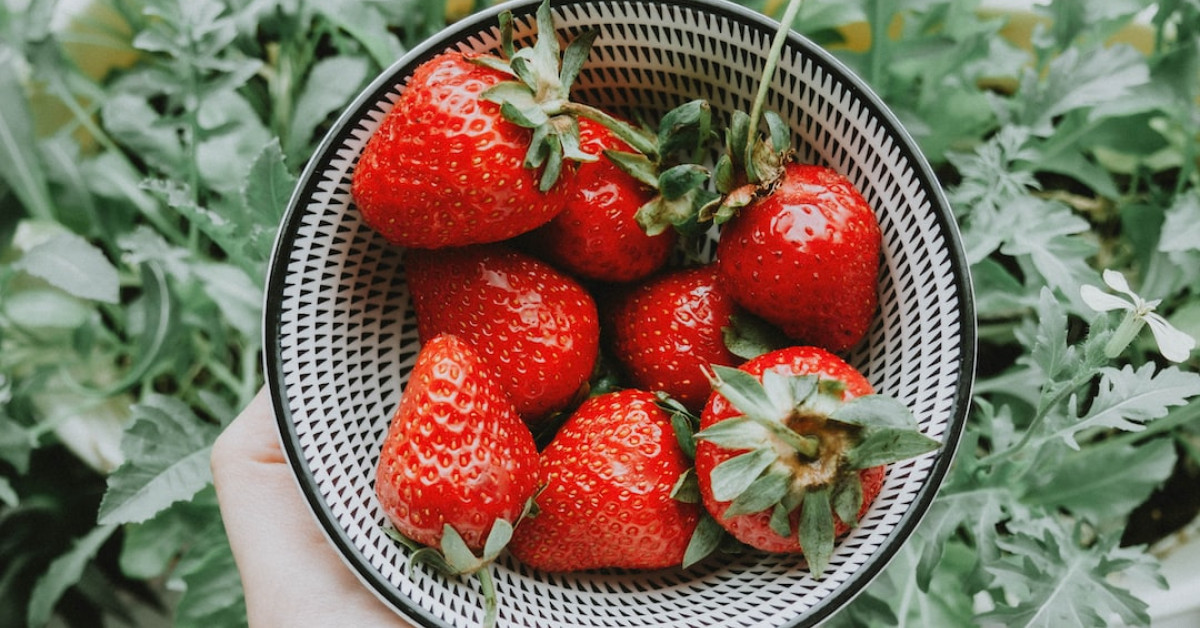
- Fresh strawberries: For the best results, use freshly picked, fully ripe berries.
- Granulated sugar: This not only sweetens the jam but also helps it set.
- Lemon juice: Provides acidity, which enhances flavor and assists in the setting process.
- Pectin (optional): If you want a firmer set, consider using a commercial pectin.
The Equipment Checklist
Before starting, gather your canning gear. You’ll need:
- A large, heavy-bottomed pot
- Canning jars with lids and bands
- Jar lifter or tongs
- Funnel (specifically for canning)
- Ladle
- Non-metallic spatula
- Canning rack (to prevent jars from touching the bottom of the pot)
The Strawberry Jam Recipe: A Delicacy in the Making
Preliminaries: Preparing Your Berries and Equipment
To begin, wash your strawberries and equipment thoroughly. Hull the strawberries to remove the stems and any bruised or unsightly parts. Sterilize your jars and lids according to the manufacturer’s instructions, generally involving boiling them in water for a specific period.
Crafting Your Strawberry Mixture
- In your large pot, combine the prepared strawberries and sugar. If you’re adding pectin, follow the instructions on the package for proper integration.
- Slowly bring the mixture to a boil, continually stirring to prevent sticking and burning. Add lemon juice at this stage.
- Once boiling, reduce heat to a simmer and continue to cook until the jam reaches the proper consistency, usually 220°F (104°C), measured with a candy thermometer.
Testing for Doneness
- Spoon or Sheet Test: Dip a cold spoon into the boiling jam, lift it, and let the jam drip back into the pot. When it forms two drops that flow together and “sheet” off the spoon, it is usually done.
- Temperature Test: Use a thermometer to check if the jam has reached the gel stage at 220°F (104°C).
Flavor Enhancing Tips
- Consider adding a dash of vanilla extract or a sprinkle of cinnamon for a twist on the classic strawberry jam flavor.
- Mixing in a small amount of finely grated orange zest can add a subtle, aromatic complexity to your jam.
The Canning Process: Sealing in Freshness
Filling the Jars
- Remove your sterilized jars from the water and place them on a clean surface.
- Using the canning funnel, ladle hot jam into the jars, leaving a quarter-inch headspace at the top for expansion.
- Remove air bubbles by running the spatula around the inside edge of the jar.
Sealing the Deal
- Wipe the rims clean with a damp cloth to ensure a proper seal.
- Place the lids on the jars, screwing the bands on securely but not overly tight.
- Using your jar lifter or tongs, place the filled jars into the canning rack inside the pot.
The Water Bath Method: A Critical Step
Ensuring a Safe Seal
- Fill your canning pot with enough water to cover the jars by at least an inch, then bring to a rolling boil.
- Once boiling, reduce heat to maintain a gentle boil and process the jars for the time specified in your recipe, typically 10 minutes for half-pints and pints.
- Turn off the heat and let the jars sit in the pot for an additional five minutes.
The Final Stages: Cooling and Storage
- Carefully remove the jars from the water and place them on a towel or cooling rack.
- Let them cool undisturbed for 12 to 24 hours. Check that the lids have sealed by pressing on the center; if it doesn’t pop back, your jar is sealed.
- Label your jars with the date and store in a cool, dark place for up to 12 months.
Troubleshooting: Tips for Perfect Jam Every Time
Dealing with Common Issues
- Runny Jam: If your jam hasn’t set properly, you can recook it with a bit more pectin or sugar.
- Crystal Formation: This can occur if the sugar wasn’t fully dissolved. Always stir thoroughly during the cooking process.
- Mold Growth: Ensure your jars and lids are properly sterilized and the seals are tight to prevent mold.
Creative Uses for Homemade Strawberry Jam
Beyond the Bread: Delicious Ideas
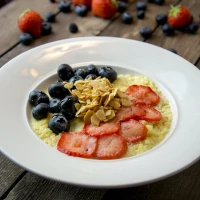
- Top your morning oatmeal or yogurt with a dollop of strawberry jam.
- Use it as a filling for cakes or as a glaze for pastries.
- Incorporate it into savory sauces for an unexpected twist in dishes like pork tenderloin.
Reflections on Strawberry Jam Canning
The Satisfaction of Mastery
There’s a deep sense of fulfillment that comes from mastering the art of strawberry jam canning. It is a nostalgic process that not only preserves the fruit but also the moments spent in the kitchen, the tradition passed down through generations, and the anticipation of savoring those sweet, sun-ripened flavors in the heart of winter.
Canning your own strawberry jam is more than just a pastime. It’s a celebration of patience, a nod to self-sufficiency, and an expression of the simple yet profound joy that homemade food brings. With this guide and your newfound skills, you’re well on your way to transforming nature’s treasures into your own culinary jewels, ready to be unveiled and enjoyed, anytime throughout the year.


